DIY Elaphe schrenckii Enclosure: Budget-Friendly Setup Ideas for Pet Snakes
At lopehare.com, we’re passionate about helping enthusiasts provide the best possible care for niche pets, and that includes creating suitable habitats without breaking the bank. Owning a snake like the beautiful Amur Ratsnake (Elaphe schrenckii) is incredibly rewarding, but prospective keepers might feel daunted by the perceived cost of setting up an appropriate enclosure. The good news? With some ingenuity and resourcefulness, you can absolutely build a safe, functional, and enriching habitat for your Elaphe schrenckii on a budget. Let’s explore some budget-friendly Elaphe schrenckii enclosure setup ideas.
Why Choose Elaphe schrenckii?
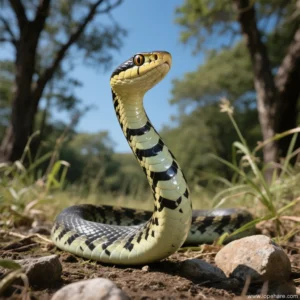
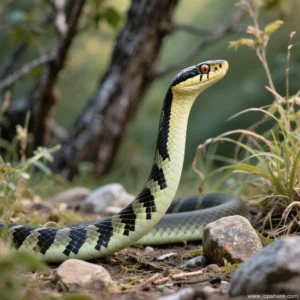
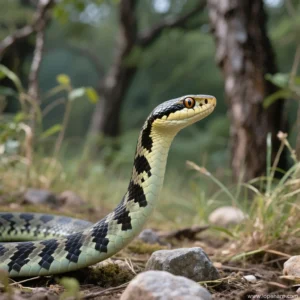
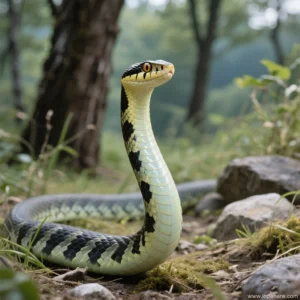
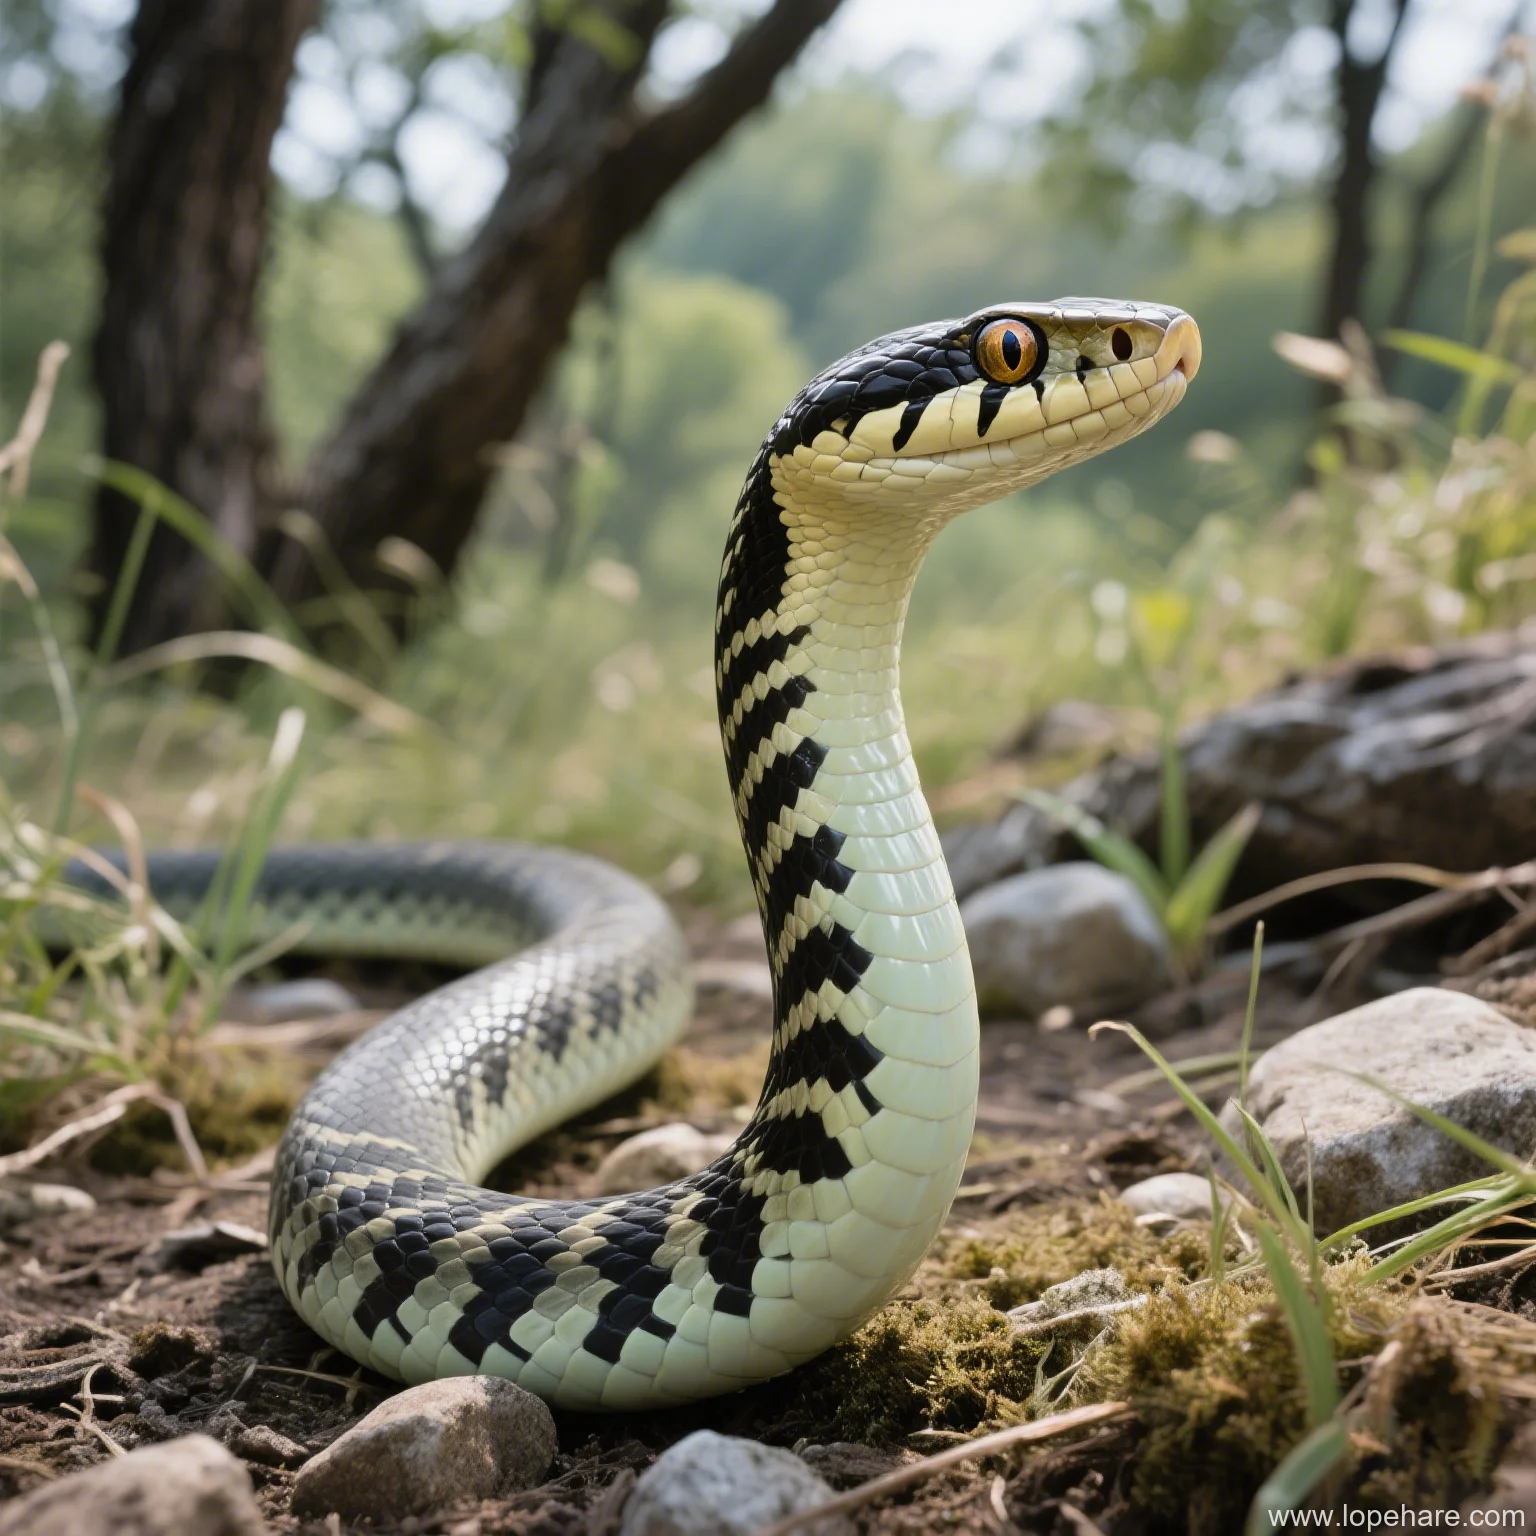
Elaphe schrenckii, also known as the Korean Ratsnake or Schrenck’s Ratsnake, is native to Northeast Asia. They are known for their striking black and yellow/white banding and generally docile temperament, making them a popular choice among snake keepers who appreciate their beauty and manageable size. As adult snakes, they typically reach lengths of 4 to 6 feet (1.2 to 1.8 meters). While adaptable in terms of environment in the wild, providing the correct captive conditions is vital for their health and well-being, just like any other pet.
Understanding Basic Amur Ratsnake Needs
Before diving into budget builds, it’s crucial to understand the basic requirements of an Amur Ratsnake enclosure, regardless of cost:
- Size: A sub-adult or adult Amur Ratsnake needs an enclosure that is at least as long as the snake itself, providing ample room to stretch out. A 4x2x2 foot enclosure (approx. 120x60x60 cm) is often considered a minimum for an adult, but larger is always better if space allows.
- Security: Snakes are escape artists. The enclosure must be completely secure with a locking mechanism.
- Ventilation: Proper airflow is needed to prevent stagnant air and respiratory issues, but without creating drafts.
- Temperature Gradient: A warm side (basking) and a cool side are essential. Specific temperatures vary slightly, but a common range is a warm side of 80-85°F (27-29°C) with a basking spot around 88-90°F (31-32°C), and a cool side in the low 70s°F (22-24°C).
- Humidity: Moderate humidity (around 50-60%) is usually sufficient, with a humid hide provided for shedding.
- Hides: At least two secure hides (one on the warm side, one on the cool side) are necessary for the snake to feel safe.
- Water Source: A sturdy water bowl large enough for the snake to soak in.
- Climbing/Enrichment: As semi-arboreal snakes, providing branches or other climbing structures is beneficial.
Budget-Friendly Enclosure Base Ideas
Expensive glass or PVC reptile-specific enclosures can be a major expense. Here are some lower-cost alternatives:
- Plastic Tubs/Storage Bins: For juveniles or temporary setups, large plastic storage bins (like Sterilite or Rubbermaid) can work. Choose opaque bins as they provide more security. You’ll need to modify them significantly for ventilation and heating. This isn’t ideal for long-term adults but can be very cost-effective initially.
- Used Aquariums: Old glass aquariums are often available cheaply on classifieds or at garage sales. While originally designed for fish, they can be adapted for snakes. The main challenge is securing a tight-fitting screen lid that can support heating/lighting while preventing escapes and providing ventilation. Converting an aquarium requires careful planning for the top.
- DIY Wooden Enclosures (Melamine/Plywood): Building your own enclosure from materials like Melamine-coated particleboard or plywood can be much cheaper than buying new. Melamine is easy to clean and water-resistant. Plywood needs sealing (e.g., with reptile-safe epoxy or polyurethane). This requires some basic carpentry skills but allows for custom sizing and features. Always use non-toxic sealants and allow them to fully cure and off-gas before introducing the snake.
Safety First: Regardless of the material, ensure there are no sharp edges, gaps the snake can squeeze through, or toxic finishes. DIY doesn’t mean compromising on safety.
Here’s a general comparison:
| Enclosure Type | Pros (Budget) | Cons | Best For |
|---|---|---|---|
| Plastic Tub | Very low initial cost, lightweight | Difficult to heat gradient, poor visibility, needs significant modification, less aesthetically pleasing | Juveniles, temporary |
| Used Aquarium | Often cheap, good visibility | Heavy, tricky ventilation/lid security, retains humidity heavily (can be pro or con depending on species) | Can work for adults with proper lid conversion |
| DIY Wood (Melamine/Plywood) | Cost-effective for large sizes, customisable, durable if sealed | Requires tools & skills, needs careful sealing, can be heavy | Long-term adult setups, larger sizes |
Crucial: Ventilation and Security
These two aspects are non-negotiable for any snake enclosure, budget or not.
- Ventilation: For tubs, drill numerous holes on the sides and top. For aquariums, a secure screen top is needed. For DIY wood enclosures, incorporate mesh panels on opposite sides (e.g., low on one side, high on the other) to allow for cross-ventilation. Avoid glass fronts that extend all the way to the top, as this hinders airflow.
- Security: Lids must be heavy or have clips/latches that a strong snake cannot open. For DIY builds, ensure seams are tight and access doors have robust locks (like a padlock or secure latches). Simple tape or weights are usually insufficient for determined ratsnakes.
Getting the ventilation right is key to preventing respiratory infections in pet snakes, a common issue resulting from poor air quality.
Double Check Security: Always assume your snake is trying to escape. Check all potential exit points regularly.
Heating and Lighting Solutions
Heating is essential for reptiles to thermoregulate. Lighting needs depend on whether you opt for UVB (recommended by some, especially if housed in larger enclosures) or just ambient lighting.
- Heating Pads (UTH): Under Tank Heaters (UTHs) are a common and relatively inexpensive heating method. They should cover no more than 1/3 of the enclosure floor to create a temperature gradient. ALWAYS use a thermostat with a UTH to prevent overheating and burns. Basic thermostat models are available at reasonable prices.
- Ceramic Heat Emitters (CHE): CHEs produce heat without light and can be good for maintaining ambient temperatures or creating a basking spot, especially in larger enclosures or DIY builds. They require a ceramic socket and a dimming or pulse thermostat. Again, a thermostat is non-negotiable for safety.
- Incandescent/Halogen Bulbs: These create a basking spot and ambient heat. They are inexpensive but can dry out the air quickly and require a dome fixture. Use a thermostat or dimming system to regulate temperature.
Combine heating methods to achieve the necessary gradient if one source isn’t enough. For lighting, simple LED strip lights or even ambient room light near the enclosure are sufficient if you don’t use UVB. If using UVB, a simple T5 HO fixture (appropriate percentage, like 5-6%) is the most efficient, but bulbs need replacing regularly (usually annually), which is a recurring cost.
Inexpensive Substrate and Decor
The substrate is the bedding. Decor provides enrichment and hiding spots.
- Substrate: Shredded aspen is a popular, inexpensive, and safe option that holds burrows well. Cypress mulch (Forest Floor) is also cost-effective and helps maintain humidity if needed. Avoid cedar or pine shavings, which are toxic to snakes. Newspaper or paper towels are the cheapest and easiest to clean, good for quarantine or monitoring health, but less natural.
- Hides: Half logs (available at pet stores or collected responsibly and sanitized from outside), terracotta pots broken in half, or even simple plastic containers with an entrance cut out can serve as effective hides.
- Climbing: Branches collected from hardwood trees (ensure they are safe species, like oak, maple, apple – avoid pine/cedar) can be sanitized (baking or soaking in dilute bleach solution followed by thorough drying) and used. PVC pipes cut to size and securely mounted can also provide climbing and hiding opportunities.
- Water Bowl: A heavy ceramic or plastic food bowl from a discount store works perfectly. Ensure it’s stable enough not to tip over.

Monitoring: Don’t Skip Gauges
You cannot properly care for your snake if you don’t know the temperatures and humidity levels in the enclosure. While digital thermometers and hygrometers are more accurate, even basic analog “dial” gauges (though often less precise) are better than nothing if your budget is extremely tight. Place them on both the warm and cool sides. Reliable digital options can often be found online for under $20.
Beyond Setup: Long-Term Costs
While this article focuses on the initial enclosure setup, remember that ongoing costs include:
- Food (feeder rodents – these will increase in size and cost as the snake grows)
- Substrate replacement
- Electricity for heating and lighting
- Potential UVB bulb replacement (if used)
- Veterinary care (always budget for potential vet visits!)
Conclusion: DIY is Possible
Building or modifying a low-cost Amur Ratsnake enclosure requires more effort and research than buying a ready-made one, but it is definitely achievable on a budget. The most important factors are ensuring the enclosure meets the snake’s basic needs for space, security, temperature, humidity, and enrichment, regardless of the materials used. By getting creative and doing some work yourself, you can provide a fantastic home for your Elaphe schrenckii without a massive initial investment, allowing you to allocate more resources to their ongoing care and well-being.
References