body {
font-family: ‘Segoe UI’, Tahoma, Geneva, Verdana, sans-serif;
line-height: 1.6;
color: #333;
background-color: #f4f4f4;
margin: 0;
padding: 0;
}
.article-layout-container {
display: flex;
gap: 30px;
max-width: 1100px;
margin: 40px auto;
padding: 0 15px;
}
.article-content-main {
flex: 3;
min-width: 0;
}
.toc-sidebar {
flex: 1;
min-width: 200px;
height: fit-content;
position: sticky;
top: 20px;
background-color: #f8f9fa;
padding: 20px;
border-radius: 8px;
box-shadow: 0 2px 5px rgba(0,0,0,0.05);
}
.toc-sidebar h3 {
margin-top: 0;
margin-bottom: 15px;
font-size: 1.2em;
color: #34495e;
border-bottom: 1px solid #e0e0e0;
padding-bottom: 8px;
}
.toc-sidebar ul {
list-style: none;
padding: 0;
margin: 0;
}
.toc-sidebar li {
margin-bottom: 10px;
}
.toc-sidebar a {
text-decoration: none;
color: #2980b9;
font-size: 0.95em;
transition: color 0.2s ease;
}
.toc-sidebar a:hover,
.toc-sidebar a:focus {
color: #1a5276;
text-decoration: underline;
}
.article-container {
padding: 30px;
background-color: #fff;
border-radius: 8px;
box-shadow: 0 4px 8px rgba(0, 0, 0, 0.1);
}
.article-header img { /* This style is for the header image, which we are not using at the top */
width: 100%;
max-height: 350px;
object-fit: cover;
border-radius: 8px 8px 0 0;
margin-bottom: 20px;
}
.article-container h1 {
font-size: 2.5em;
color: #2c3e50;
margin-bottom: 15px;
border-bottom: 2px solid #3498db;
padding-bottom: 10px;
}
.article-container .tag {
display: inline-block;
background-color: #3498db;
color: #fff;
padding: 5px 15px;
border-radius: 15px;
font-size: 0.9em;
margin-bottom: 20px;
text-transform: uppercase;
letter-spacing: 0.5px;
}
.article-container h2 {
font-size: 1.8em;
color: #2980b9;
margin-top: 30px;
margin-bottom: 15px;
scroll-margin-top: 80px; /* Adjust based on potential fixed header height */
}
.article-container h3 {
font-size: 1.4em;
color: #34495e;
margin-top: 25px;
margin-bottom: 10px;
}
.article-container p {
margin-bottom: 15px;
color: #555;
text-align: justify;
}
.article-container ul,
.article-container ol {
margin-left: 20px;
margin-bottom: 15px;
padding-left: 20px;
}
.article-container li {
margin-bottom: 8px;
}
.article-container strong {
color: #2c3e50;
font-weight: 600;
}
.important-note {
background-color: #e8f6fd;
border-left: 4px solid #3498db;
padding: 15px;
margin: 20px 0;
border-radius: 4px;
}
.important-note p {
margin-bottom: 0;
}
.warning-note {
background-color: #fef5e7;
border-left: 4px solid #e67e22;
padding: 15px;
margin: 20px 0;
border-radius: 4px;
}
.warning-note p {
margin-bottom: 0;
}
.article-body img {
display: block; /* Ensures the image is treated as a block element for centering */
max-width: 100%; /* Ensures image doesn’t overflow its container */
height: auto; /* Maintains aspect ratio */
max-height: 400px; /* Optional: Limits maximum height */
object-fit: cover; /* Scales the image while preserving aspect ratio */
border-radius: 8px; /* Matches container style */
margin: 25px auto; /* Centers the image horizontally and adds vertical spacing */
box-shadow: 0 2px 5px rgba(0,0,0,0.1); /* Optional subtle shadow */
}
@media (max-width: 992px) {
.article-layout-container {
flex-direction: column;
}
.toc-sidebar {
position: static;
order: -1; /* Moves TOC to the top on smaller screens */
margin-bottom: 30px;
width: auto;
min-width: unset;
}
}
@media (max-width: 768px) {
.article-layout-container {
margin: 20px auto;
padding: 0 10px;
}
.article-container {
padding: 20px;
}
.article-container h1 {
font-size: 2em;
}
.article-container h2 {
font-size: 1.5em;
}
.article-container h3 {
font-size: 1.2em;
}
}
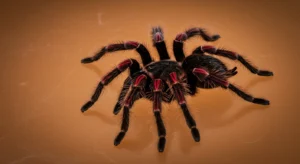
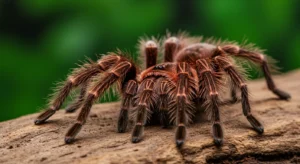
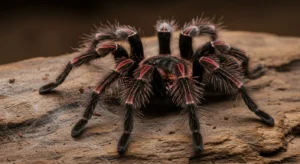
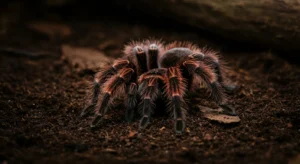
DIY Chilean Rose Tarantula Hideouts: Creative and Affordable Ideas
Introduction: Importance of Hides
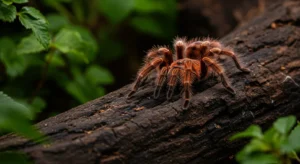
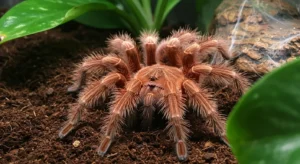
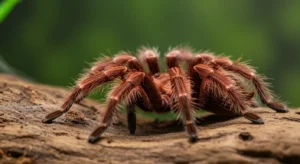
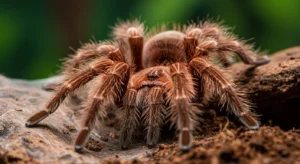
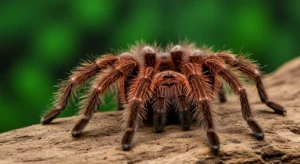
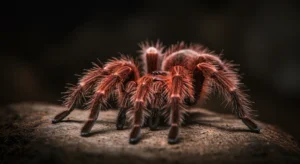
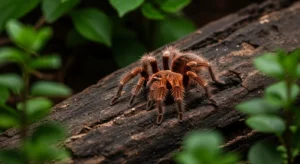
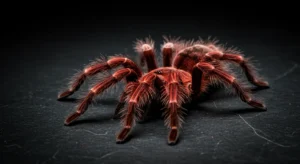
Providing a secure hiding place is essential for the well-being of your Chilean Rose Tarantula (*Grammostola rosea*). A good hide helps the tarantula feel safe, reduces stress, and provides a necessary retreat, especially during molting or when startled. While commercially available options like cork bark rounds and reptile hides are popular, creating your own DIY hideout can be a fun, affordable, and effective alternative.
Safety First: Material Considerations
Before embarking on a DIY project, ensure the materials you choose are safe for your tarantula:
- Non-Toxic: Avoid materials treated with chemicals, paints (unless aquarium-safe and fully cured), pesticides, or sealants.
- Sturdy: The hide must be stable and unable to collapse on the tarantula.
- No Sharp Edges: Sand down any rough or sharp edges to prevent injury.
- Appropriate Size: The hide should be snug enough for the tarantula to feel secure but large enough for it to turn around comfortably.
- Mold Resistance: Choose materials less prone to molding in the enclosure’s humidity, or be prepared for more frequent cleaning/replacement.
When in Doubt, Throw it Out: If you’re unsure about the safety of a material, it’s best not to use it.
Idea 1: Modified Plastic Containers
Simple food-grade plastic containers can make excellent hides with a little modification.
- Materials: Opaque plastic tubs (e.g., margarine tubs, deli containers), sturdy scissors or craft knife, sandpaper.
- Method:
1. Clean the container thoroughly.
2. Carefully cut an entrance hole on one side, large enough for your tarantula.
3. Sand down the cut edges until smooth.
4. You can partially bury the container in the substrate for stability and a more natural feel. - Pros: Cheap, readily available, easy to clean.
- Cons: Can look unnatural unless well-hidden or decorated.
These offer some of the most cheap tarantula hide ideas available.
Idea 2: Terracotta Pot Shards
Broken (or carefully broken) terracotta pots offer a natural look and sturdy structure.
- Materials: Clean terracotta pot (ensure no glaze on broken edges), hammer (use eye protection!), sandpaper or file.
- Method:
1. Carefully break a pot into large, curved shards (or use an existing broken one). Wear safety glasses!
2. Select a suitably sized shard.
3. File or sand down any sharp broken edges thoroughly.
4. Place the shard curved-side-up in the enclosure, partially burying the edges in the substrate to create a cave-like hide. - Pros: Natural look, sturdy, good thermal properties (stays cool).
- Cons: Requires careful breaking and smoothing, can be heavy.

Idea 3: DIY “Cork Bark” Alternatives
While real cork bark is ideal, you can mimic its shape with other materials.
- Materials: Cardboard tubes (from paper towels, toilet paper – untreated), non-toxic waterproof glue (like aquarium silicone – ensure fully cured), coco fiber or peat moss.
- Method:
1. Cut cardboard tube to desired length.
2. (Optional) Coat the outside with aquarium silicone and press dry coco fiber or peat moss onto it while wet. Let it cure COMPLETELY (several days in a well-ventilated area) until no odor remains.
3. Place the tube horizontally, partially buried. - Pros: Can look quite natural if coated, lightweight.
- Cons: Cardboard can degrade in humidity (silicone coating helps), requires curing time for glue. Must be untreated cardboard.
Making a hide mimic natural materials like [making a cork bark hide for tarantula](https://www.lopehare.com/tarantula-training-tips/) requires some effort but can be rewarding.
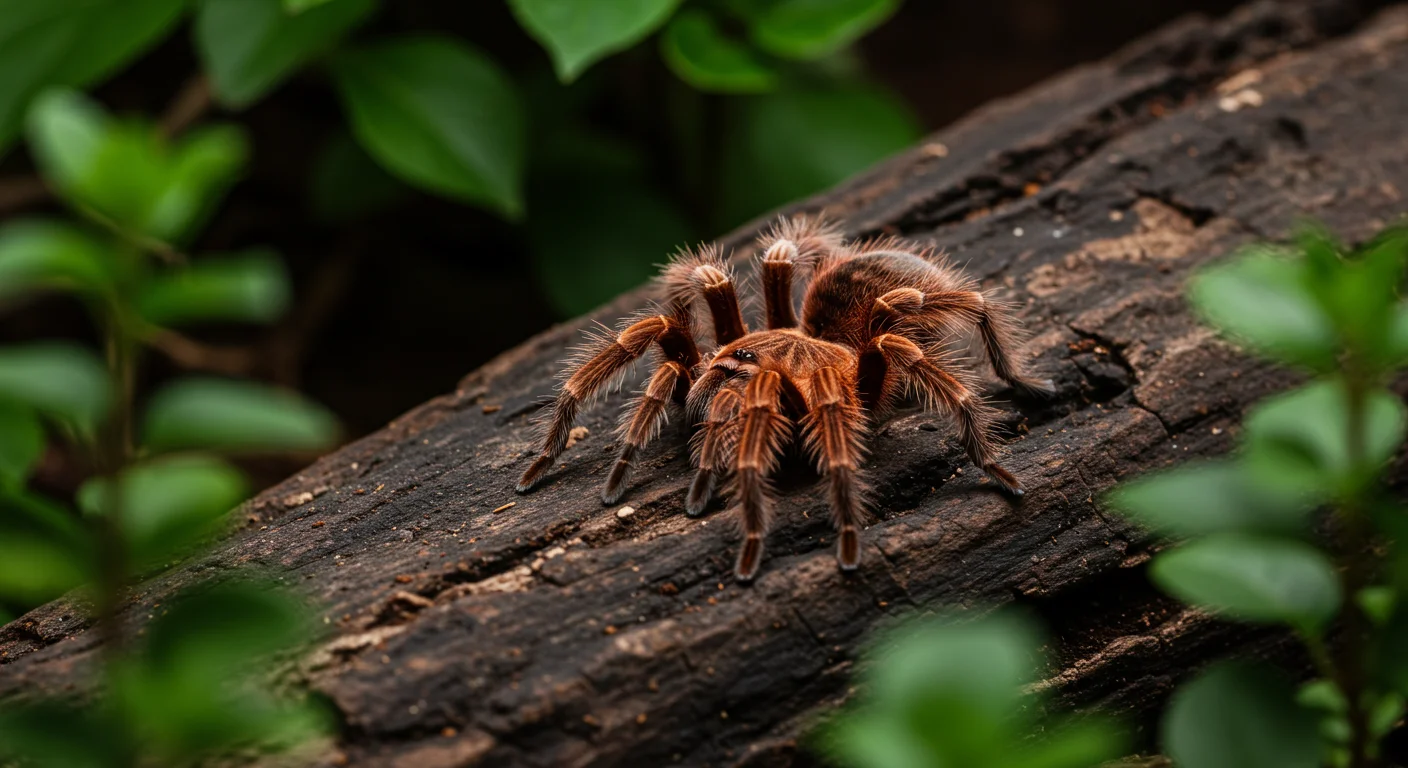
Idea 4: Natural Elements (Sanitized)
Carefully selected and prepared natural items can work.
- Materials: Coconut shells (halved), large seed pods (sterilized), thick pieces of bark (from safe woods like oak – **NOT PINE/CEDAR**).
- Method:
1. Thoroughly clean the item.
2. **Sanitize:** Bake wood/bark/pods at a low temperature (around 200-250°F / 95-120°C) for 1-2 hours, or boil for 30 minutes, to kill pests and mold spores. Let cool completely.
3. Ensure no sharp edges remain.
4. Arrange in the enclosure to form a secure hide. Coconut halves make excellent natural caves. - Pros: Very natural look.
- Cons: Requires careful selection and thorough sanitization, potential for mold if not fully dried/cured.
Placement and Integration
Position the DIY hide in a quieter area of the enclosure, away from heavy traffic. Partially burying the edges in the substrate makes it feel more secure and cave-like for the tarantula. Ensure it’s stable and won’t wobble or tip over easily.
Conclusion
Creating a DIY hideout for your Chilean Rose Tarantula can be a cost-effective and fulfilling way to enhance their enclosure. By prioritizing safety, choosing non-toxic and sturdy materials, and ensuring a proper size and smooth edges, you can provide a secure retreat using everyday items or carefully prepared natural elements. Whether it’s a modified plastic tub, a terracotta shard, or a sanitized coconut shell, a good hide is crucial for a happy and stress-free tarantula.
DIY ideas based on common practices and safe material use in reptile and invertebrate keeping.