Reptile Husbandry
How to Set Up the Perfect Enclosure for Your Corn Snake: A Step-by-Step Guide
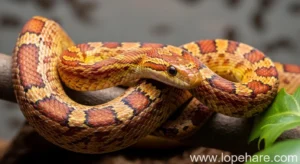
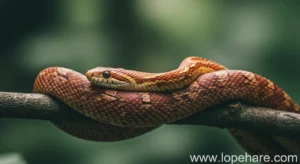
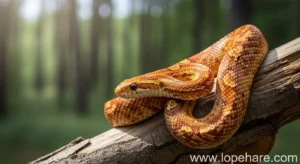
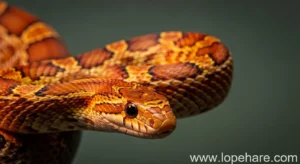
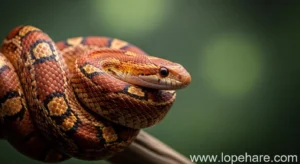
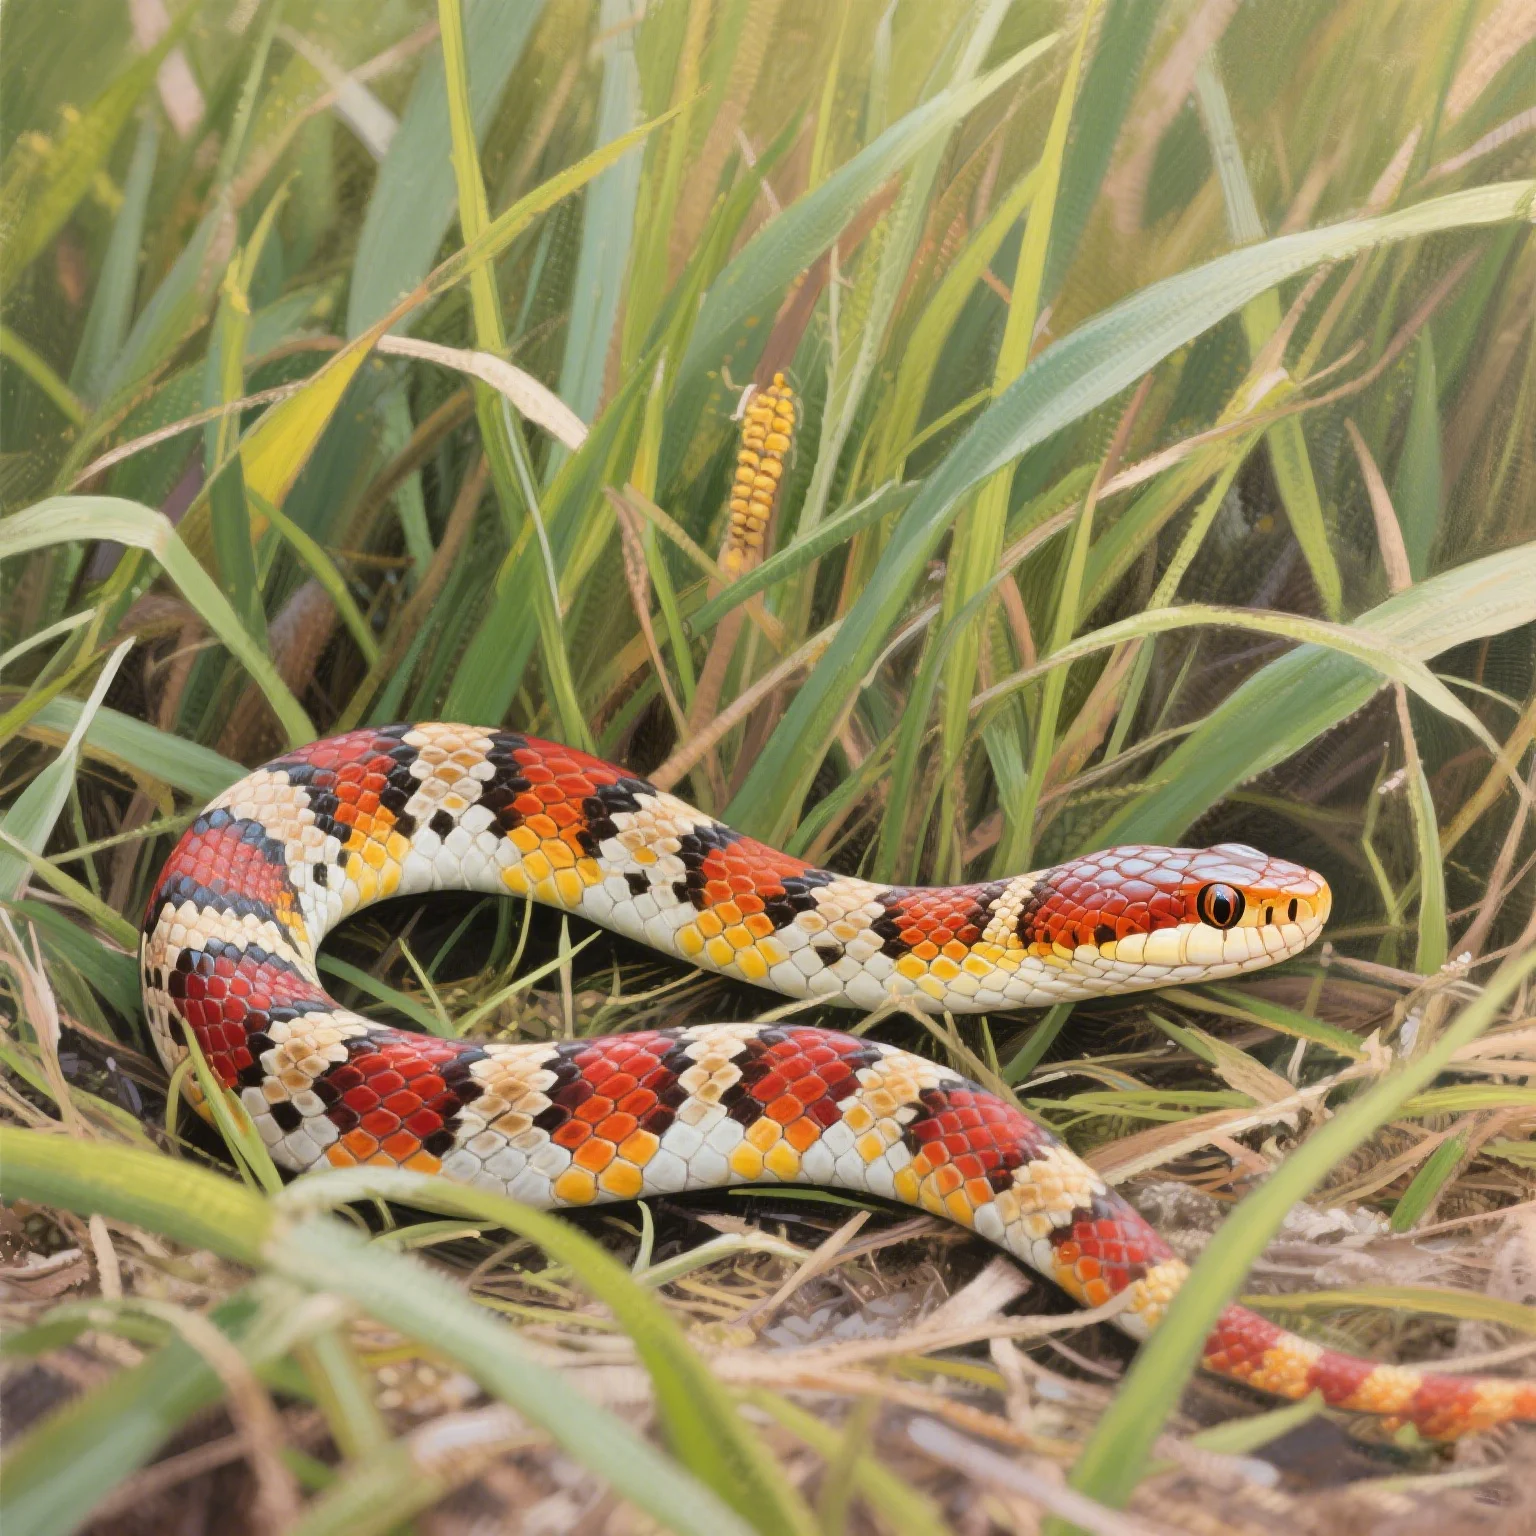
Welcome to lopehare! As passionate keepers of unique pets, we know that providing the right environment is the foundation of healthy, happy reptile ownership. Corn snakes (Pantherophis guttatus) are popular choices for reptile enthusiasts, known for their docile nature and stunning color morphs. While generally considered good beginner snakes, they still require precise care, and getting their enclosure setup right from day one is absolutely critical. This guide will walk you through exactly **how to set up a corn snake enclosure for a beginner**, ensuring you create a safe, stimulating, and appropriate home for your new scaly friend.
Introduction: Why Enclosure Setup is Key
A corn snake’s enclosure isn’t just a box they live in; it’s their entire world. It provides the necessary temperature gradient for thermoregulation, the correct humidity levels for shedding, places to hide for security, opportunities to explore, and a designated area for feeding and hydration. Mistakes in setup can lead to stress, illness, and even premature death. Our goal at lopehare is to give you the professional, comprehensive information needed to succeed.
Choosing the Right Enclosure Size
Start with the right size enclosure for your corn snake. Hatchlings and juveniles can start in smaller setups, like a 10-20 gallon tank, to make feeding easier and monitoring simpler. However, they grow surprisingly fast! An adult corn snake (which can reach 4-5 feet or more) will need a significantly larger enclosure. We recommend a minimum of a 40-gallon breeder tank (36″L x 18″W x 16″H) for an adult. Larger is always better, provided you can maintain the correct temperature gradient. A spacious enclosure allows for more enrichment opportunities and a more naturalistic setup.
Substrate Selection: Creating the Base
The substrate is the material lining the bottom of the enclosure. The **best substrate for corn snake habitat** is one that is absorbent, holds some humidity (but isn’t constantly wet), allows for burrowing (which they enjoy), and is safe if accidentally ingested in small amounts. Popular and recommended options include:
- Aspen Shavings: Very popular, affordable, good for burrowing, but doesn’t hold humidity well. Ensure it’s dry aspen to prevent mold.
- Cypress Mulch (e.g., Zoo Med Forest Floor): Good for holding humidity, allows burrowing, naturalistic look. Avoid dusty varieties.
- Coconut Fiber (e.g., Eco Earth): Excellent for humidity, allows burrowing. Can be dusty when dry.
- Paper Towels/Newspaper: Easiest for monitoring health (seeing feces/urates) and cleaning, especially for new or sick snakes. Not naturalistic or good for humidity/burrowing.
Avoid Harmful Substrates: Never use cedar or pine shavings, as the phenols they contain are toxic to reptiles. Avoid sand or gravel, which can cause impaction if ingested.
A depth of 2-4 inches allows for adequate burrowing.
Heating Your Corn Snake’s Habitat
Corn snakes are ectotherms, meaning they rely on external heat sources to regulate their body temperature. You need to provide a temperature gradient.
- Hot Spot: Around 80-85°F (27-29°C). This should be provided by an under-tank heater (UTH) covering about 1/3 of the tank or a ceramic heat emitter (CHE) mounted overhead (UTH is generally preferred for burrowing species like corn snakes).
- Cool Side: Around 70-75°F (21-24°C). This is the opposite side of the enclosure.
- Ambient Temperature: The overall temperature of the enclosure should ideally stay within the 70s°F.
Use a Thermostat! ALL heating elements (UTHs, CHEs) MUST be controlled by a thermostat to prevent overheating and severe burns. Stick-on thermometers are not sufficient for measuring surface temperatures controlled by a UTH.

Lighting Needs
Corn snakes generally do not require special UVB lighting if their diet is properly supplemented. A simple cycle of 10-12 hours of white light during the day can be provided by a low-wattage LED or fluorescent bulb. This helps establish a natural day/night cycle. Ensure any heat lamps emitting light are turned off at night unless the ambient temperature drops too low (a CHE or UTH on a thermostat is better for nighttime heat).
Hides and Enrichment: Making it Home
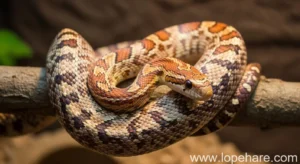
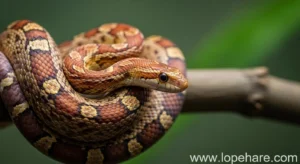
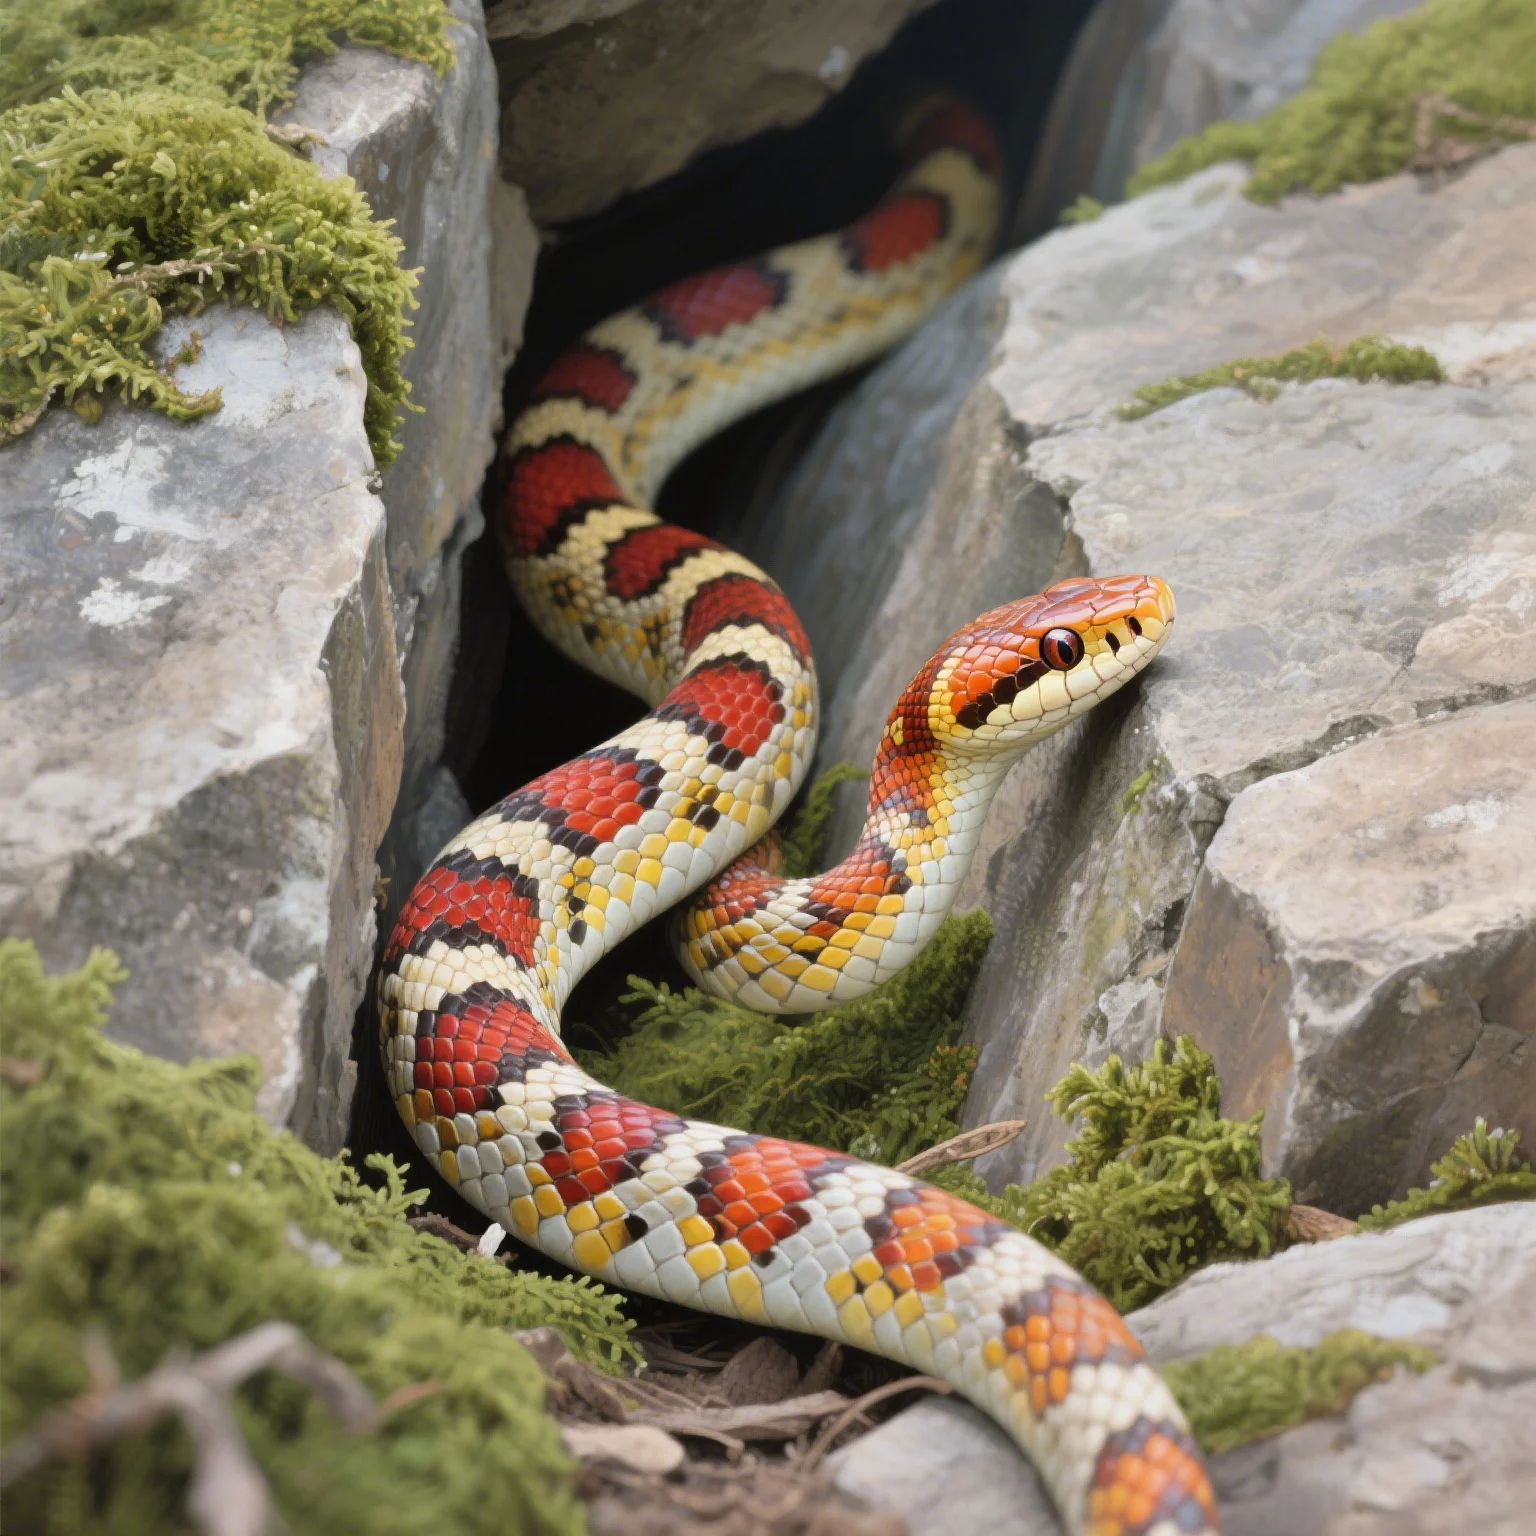
Provide at least two hides: one on the warm side and one on the cool side. This allows your snake to choose its preferred temperature while feeling secure. Hides can be cork bark, commercially made reptile caves, or even upside-down plastic containers with a door cut out. Ensure the opening is just large enough for the snake to fit through. Adding branches, rocks (secured so they cannot fall), and artificial or live, non-toxic plants creates a more enriching environment that encourages natural behaviors like climbing and exploring.
Providing Water
A heavy, shallow water bowl should be placed on the cool side of the enclosure. Corn snakes drink from it and will often soak, especially when preparing to shed. The bowl should be large enough for the snake to submerge its entire body. Clean and refill the water daily.
Step-by-Step Setup Process
- Clean Everything: Wash the tank, hides, water bowl, and any decorations with a reptile-safe disinfectant or a dilute bleach solution (rinse thoroughly!).
- Install Heating: Apply the UTH to the outside bottom of the tank (following manufacturer instructions). If using a CHE, mount it securely overhead.
- Connect Thermostat: Plug your heating element into the thermostat. Place the thermostat probe INSIDE the enclosure on the substrate surface directly above the UTH or near the heat source’s basking spot. Set the thermostat to your target hot spot temperature (e.g., 85°F).
- Add Substrate: Pour in your chosen substrate to a depth of 2-4 inches.
- Add Hides & Decor: Place the warm and cool hides. Add branches, rocks, and plants. Arrange them to provide cover and climbing opportunities throughout the enclosure.
- Add Thermometers & Hydrometers: Place digital thermometers on both the warm and cool sides at substrate level. Add a digital hydrometer near the middle of the tank. (Avoid stick-on dial types as they are inaccurate).
- Add Water Bowl: Place the heavy water bowl on the cool side and fill with fresh water.
- Install Lighting (Optional): Add your light fixture on a timer for a 10-12 hour cycle.
- Temperature & Humidity Checks: Let the enclosure run for at least 24 hours BEFORE adding your snake. Check the temperatures on both sides and the humidity level to ensure they are within the correct range. Adjust thermostat or setup as needed.
Ongoing Enclosure Maintenance
Maintaining the enclosure is an ongoing process. Spot clean waste daily, replace water daily, and do a full substrate change and deep clean periodically (e.g., every 1-2 months depending on enclosure size and cleanliness). Regularly check your temperature and humidity gauges to ensure they are consistent. Providing consistent, clean, and appropriately heated and humidified environments is key to preventing common corn snake health issues.
Conclusion: A Safe & Happy Home
Setting up the perfect enclosure is the most important step you’ll take in caring for your corn snake. While it might seem like a lot initially, following these steps provides your snake with the essential conditions it needs to thrive. A well-setup habitat not only meets their basic physiological needs but also promotes natural behaviors and reduces stress, contributing to a longer, healthier life. At lopehare, we’re here to support you on your journey as a responsible small pet owner. Get the enclosure right, and you’re well on your way to enjoying your corn snake for years to come.
References:
- Corn snake – Wikipedia
- Information adapted from standard reptile husbandry practices.